Hey there! As a Ppr Pipe supplier, I've seen firsthand how important it is to know how to install Ppr pipes correctly. Whether you're a DIY enthusiast looking to tackle a home plumbing project or a professional plumber, this guide will walk you through the process step by step.
1. Gather Your Materials and Tools
Before you start the installation, you'll need to gather all the necessary materials and tools. Here's what you'll typically require:
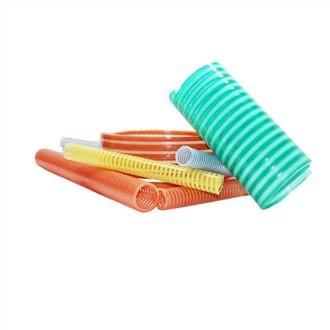
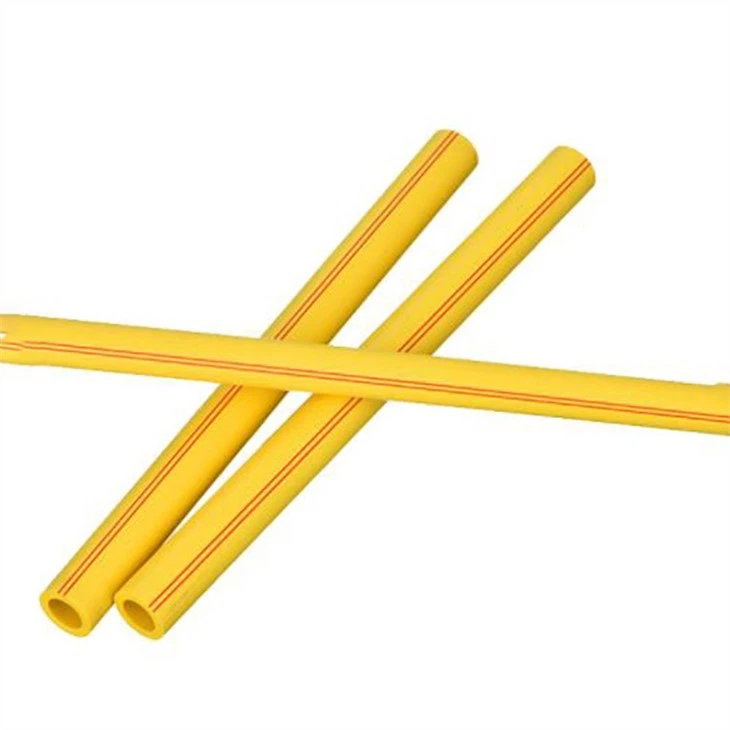
- Pipes and Fittings: Make sure to choose high - quality Ppr pipes and fittings. You can find a great selection of Plastic Pipe Polypropylene, Plastic Pipe Ppr, and Plastic Polypropylene Pipes on our website.
- Pipe Cutter: A good pipe cutter is essential for making clean, straight cuts.
- Ppr Pipe Welder: This tool is used to join the pipes and fittings together.
- Measuring Tape: To measure the lengths of the pipes accurately.
- Marker: To mark the pipes where you need to make cuts.
- Safety Gear: Gloves and safety glasses to protect yourself during the installation process.
2. Plan Your Installation
Take the time to plan your installation carefully. Sketch out the layout of your plumbing system on paper, noting where the pipes will run, the locations of fixtures like sinks and toilets, and any connections to the main water supply. This will help you determine how much pipe and what types of fittings you need.
Measure the distances between different points in your plumbing system. Make sure to account for any bends, corners, or connections. Mark these measurements on your pipes using a marker.
3. Cut the Pipes
Once you have your measurements, it's time to cut the pipes. Use a pipe cutter to make the cuts. Place the pipe cutter around the pipe at the marked location and tighten it. Then, rotate the pipe cutter around the pipe, applying gentle pressure. The cutter will score the pipe as you turn it. Keep rotating until the pipe breaks cleanly.
Make sure your cuts are straight and perpendicular to the pipe. A crooked cut can result in a poor connection and may lead to leaks.
4. Prepare the Ends of the Pipes and Fittings
Before you join the pipes and fittings, you need to prepare the ends. Use a clean cloth to wipe any dirt, dust, or debris from the ends of the pipes and the inside of the fittings. This will ensure a good bond when you weld them together.
5. Use the Ppr Pipe Welder
Now it's time to use the Ppr pipe welder. Plug in the welder and let it heat up to the recommended temperature. Most Ppr pipe welders have a temperature indicator to let you know when it's ready.
Once the welder is heated, insert the end of the pipe into one side of the welder's heating element and the fitting onto the other side. Hold them in place for the specified time, which is usually a few seconds. The heat will soften the plastic, making it ready to be joined.
6. Join the Pipes and Fittings
After the specified time has passed, quickly and firmly push the pipe into the fitting. Make sure the pipe is inserted all the way and is straight. Hold the joint in place for a few seconds to allow the plastic to cool and bond.
Don't try to move or adjust the joint while the plastic is still hot. This can cause the bond to weaken and may result in leaks later on.
7. Check for Leaks
Once you've completed the installation, it's important to check for leaks. Turn on the water supply and let the water run through the pipes. Inspect all the joints carefully for any signs of water leakage. If you find a leak, you may need to cut out the faulty joint and repeat the welding process.
8. Secure the Pipes
To prevent the pipes from moving or vibrating, it's a good idea to secure them in place. You can use pipe clips or brackets to attach the pipes to the wall or other structural elements. Make sure the clips are spaced evenly along the length of the pipe.

9. Consider Insulation
In some cases, especially if the pipes are exposed to cold temperatures, it may be necessary to insulate the Ppr pipes. Insulation can help prevent the pipes from freezing and bursting. You can use foam insulation sleeves to wrap around the pipes.
10. Final Checks
Once you've completed all the steps, do a final check of the entire plumbing system. Make sure all the fixtures are working properly and that there are no signs of leaks or other issues.
Well, that's the basic process of installing Ppr pipes. It may seem a bit daunting at first, but with a little practice and the right tools, you'll be able to do it like a pro.
If you're thinking about starting a Ppr pipe installation project, or if you have any questions about our products, we're here to help. We're a trusted Ppr Pipe supplier, and we offer a wide range of high - quality pipes and fittings. Don't hesitate to reach out for more information or to discuss your procurement needs. We're always happy to have a chat and see how we can assist you in your plumbing projects.
References
- "Plumbing Handbook" - A comprehensive guide on plumbing installation techniques.
- Manufacturer's instructions for Ppr pipe and fitting products.