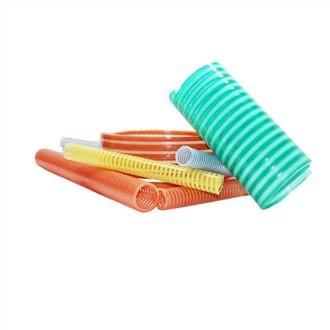
Connecting an LPG (liquefied petroleum gas) hose to a tank is a crucial process that requires careful attention to safety and proper procedures. As a leading LPG hose supplier, we understand the importance of providing you with detailed guidance on this matter. In this blog post, we'll walk you through the step-by-step process of connecting an LPG hose to a tank, highlighting key safety measures and considerations along the way.
Understanding the Basics
Before you begin the connection process, it's essential to have a clear understanding of the components involved. An LPG tank stores the gas under pressure, and the hose serves as the conduit through which the gas flows to the appliance. The connection point on the tank is typically a valve, and the hose is equipped with a fitting that attaches to this valve.
Safety First
Safety should always be your top priority when working with LPG. Here are some general safety tips to keep in mind:
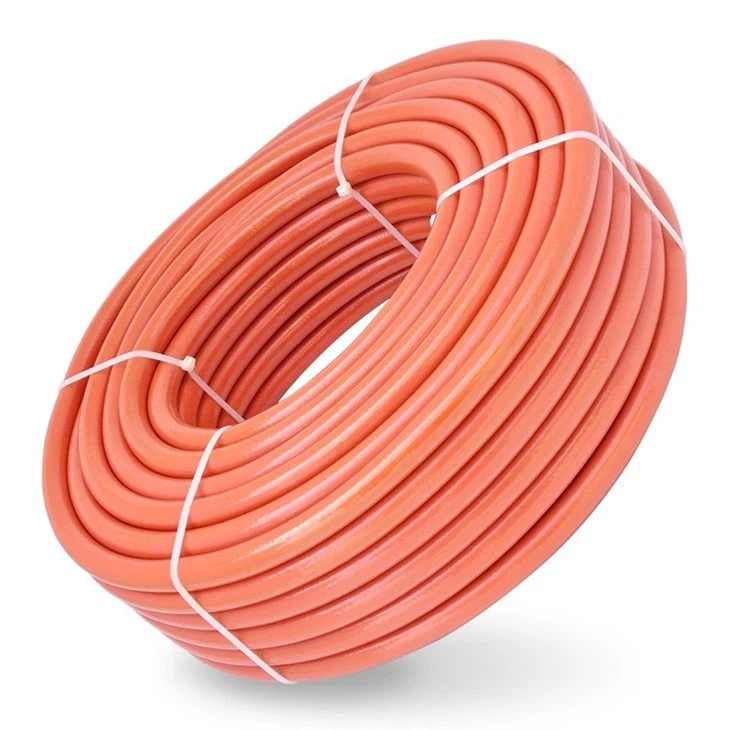
- Choose the Right Hose: Ensure that the hose you select is designed specifically for LPG use and is rated for the pressure and flow requirements of your application. Our Gas Connector Hose is a high-quality option that meets industry standards and provides reliable performance.
- Inspect the Hose: Before connecting the hose, carefully inspect it for any signs of damage, such as cuts, cracks, or leaks. If you notice any issues, do not use the hose and replace it immediately. Our Lpg Black Hose is made from durable materials that resist wear and tear, ensuring long-lasting use.
- Check the Tank: Inspect the LPG tank for any damage or signs of corrosion. Make sure the valve is in good working condition and that there are no leaks around the valve or the tank itself.
- Work in a Well-Ventilated Area: LPG is a flammable gas, so it's important to work in a well-ventilated area to prevent the accumulation of gas vapors. Avoid working near open flames, sparks, or other sources of ignition.
- Wear Protective Gear: When handling LPG, it's a good idea to wear protective gloves and safety glasses to protect yourself from potential hazards.
Step-by-Step Connection Process
Now that you've taken the necessary safety precautions, let's walk through the step-by-step process of connecting an LPG hose to a tank:
Step 1: Turn Off the Tank Valve
Before making any connections, ensure that the valve on the LPG tank is in the closed position. This will prevent gas from flowing while you're working on the connection.
Step 2: Clean the Connection Points
Use a clean, dry cloth to wipe the connection points on the tank valve and the hose fitting. This will remove any dirt, debris, or moisture that could interfere with the connection.
Step 3: Apply Thread Sealant (Optional)
Depending on the type of connection, you may need to apply a small amount of thread sealant to the threads of the hose fitting. This will help create a tight seal and prevent leaks. However, make sure to use a sealant that is specifically designed for LPG applications.
Step 4: Connect the Hose to the Tank
Align the hose fitting with the valve on the tank and hand-tighten the fitting onto the valve. Use a wrench to give the fitting an additional quarter-turn to ensure a secure connection. Be careful not to over-tighten the fitting, as this could damage the threads or cause the valve to malfunction.
Step 5: Check for Leaks
Once the hose is connected, it's important to check for leaks. You can do this by applying a solution of soapy water to the connection points. If you see bubbles forming, this indicates a leak. If you detect a leak, immediately turn off the tank valve and tighten the connection or replace the hose fitting as needed.

Step 6: Open the Tank Valve
After you've confirmed that there are no leaks, slowly open the valve on the LPG tank. Listen for any hissing sounds, which could indicate a leak. If you hear a hissing sound, close the valve immediately and check the connection again.
Step 7: Check for Gas Flow
Once the valve is open, check for gas flow by turning on the appliance connected to the hose. If the appliance does not receive gas, there may be a blockage in the hose or a problem with the connection. Double-check the connection and make sure the valve is fully open.
Additional Tips and Considerations
- Regular Maintenance: To ensure the continued safety and performance of your LPG hose and tank, it's important to perform regular maintenance. This includes inspecting the hose for damage, checking for leaks, and replacing the hose every few years as recommended by the manufacturer.
- Proper Storage: When not in use, store the LPG hose and tank in a cool, dry place away from direct sunlight and sources of heat. This will help prevent damage to the hose and extend its lifespan.
- Follow Local Regulations: Make sure to follow all local regulations and codes regarding the use and storage of LPG. This may include requirements for installation, maintenance, and safety equipment.
Conclusion
Connecting an LPG hose to a tank is a relatively straightforward process, but it requires careful attention to safety and proper procedures. By following the steps outlined in this blog post and taking the necessary safety precautions, you can ensure a safe and reliable connection. As a trusted LPG hose supplier, we offer a wide range of high-quality hoses, including our Lpg Hose High Quality, to meet your needs. If you have any questions or need further assistance, please don't hesitate to contact us. We're here to help you make the right choice and ensure your LPG system operates safely and efficiently.
References
- National Fire Protection Association (NFPA). NFPA 58: Liquefied Petroleum Gas Code.
- American Society of Mechanical Engineers (ASME). ASME B31.8: Gas Transmission and Distribution Piping Systems.
- International Organization for Standardization (ISO). ISO 15267: Rubber and plastics hoses and hose assemblies - Vocabulary.