Hey there! As a supplier of PVC spiral hoses, I've had my fair share of experience with all sorts of hose installations. Today, I'm gonna walk you through the process of installing a PVC spiral hose in a vertical position. Whether you're a DIY enthusiast or a professional in the field, this guide will come in handy.
First off, let's talk about why you might need to install a PVC spiral hose vertically. There are plenty of reasons. Maybe you're setting up a water pumping system for a tall building, or you're working on an irrigation project that requires the hose to run up a slope. Whatever the reason, a vertical installation has its own set of challenges and considerations.
Step 1: Choose the Right Hose
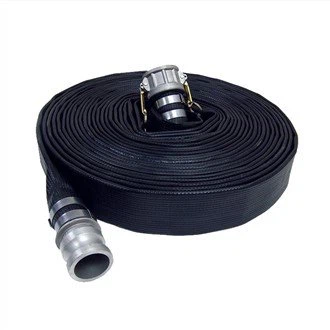
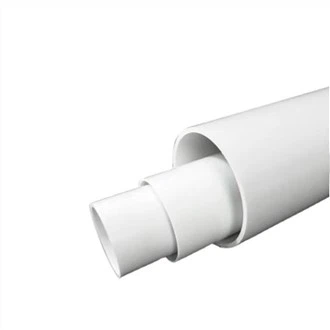
The first and most crucial step is to pick the right PVC spiral hose for the job. You need to consider factors like the diameter, length, and pressure rating. For example, if you're dealing with a high - volume water flow, you might want to go for a larger diameter hose. We offer a variety of options, such as the 2 Inch Water Hose, 3 Inch Water Pump Suction Hose Pipe, and 1.5 Inch Water Hose. Make sure to check the specifications carefully to ensure it meets your requirements.
Step 2: Gather Your Tools
Before you start the installation, gather all the necessary tools. You'll typically need a pair of sharp scissors or a utility knife to cut the hose to the right length. A hose clamp is also essential to secure the hose connections. Depending on the installation, you might also need a drill and some screws if you're attaching the hose to a wall or a structure.
Step 3: Plan the Route
Take a good look at the area where you'll be installing the hose. Plan out the route carefully to avoid any sharp bends or kinks. Sharp bends can restrict the flow of the fluid and put extra stress on the hose, which can lead to premature wear and tear. Mark the spots where you'll need to make connections and where you'll attach the hose to the wall or other supports.
Step 4: Cut the Hose to Length
Once you've planned the route, it's time to cut the hose to the appropriate length. Use your scissors or utility knife to make a clean, straight cut. Make sure to measure twice and cut once to avoid any mistakes. If you're not sure about the length, it's better to cut it a bit longer and then trim it down later.
Step 5: Make the Connections
Now it's time to make the connections. Start by attaching one end of the hose to the source, whether it's a water pump, a tank, or another fitting. Slide the hose onto the fitting as far as it will go. Then, use a hose clamp to secure the connection. Tighten the clamp firmly, but be careful not to overtighten it, as this can damage the hose. Repeat the process for the other end of the hose.
Step 6: Install Supports
Since you're installing the hose vertically, it's important to provide proper support to prevent it from sagging or falling. You can use brackets or clips to attach the hose to the wall or other structures at regular intervals. Make sure the supports are strong enough to hold the weight of the hose, especially when it's filled with fluid.
Step 7: Check for Leaks
Once the installation is complete, it's time to check for leaks. Turn on the source of the fluid and let it flow through the hose. Inspect all the connections carefully for any signs of leakage. If you notice a leak, tighten the hose clamp a bit more or check if there's any debris or damage at the connection point.
Step 8: Test the System
After you've fixed any leaks, test the system thoroughly. Let the fluid flow through the hose for a while and observe the flow rate and pressure. Make sure everything is working as it should. If you notice any issues, such as reduced flow or abnormal pressure, you might need to go back and check the installation again.
Tips and Tricks
- When cutting the hose, make sure to clean the cut end to remove any burrs or debris. This will ensure a better seal when making the connections.
- If you're working in a cold environment, the PVC hose might become more brittle. Take extra care when handling and installing it to avoid cracking.
- Always follow the manufacturer's instructions and safety guidelines when working with PVC hoses.
Conclusion
Installing a PVC spiral hose in a vertical position might seem a bit daunting at first, but if you follow these steps, it can be a relatively straightforward process. By choosing the right hose, planning the route, making proper connections, and providing adequate support, you can ensure a successful installation.


If you're in the market for high - quality PVC spiral hoses, we've got you covered. We offer a wide range of hoses with different diameters and specifications to meet your needs. Whether you need a 2 Inch Water Hose, 3 Inch Water Pump Suction Hose Pipe, or 1.5 Inch Water Hose, we can provide you with the best products at competitive prices.
If you have any questions or would like to discuss your specific requirements, feel free to reach out to us. We're always happy to help you with your hose - related needs. Let's work together to find the perfect solution for your project.
References
- PVC Hose Installation Manuals from Industry Standards
- Personal Experience as a PVC Spiral Hose Supplier