As a supplier of PVC spiral hoses, I've encountered numerous customers facing issues with damaged hoses. Repairing a damaged PVC spiral hose can save you time and money, rather than replacing the entire hose. In this blog, I'll share some practical steps on how to repair a damaged PVC spiral hose.
Step 1: Identify the Damage
The first step in repairing a PVC spiral hose is to identify the exact location and extent of the damage. Inspect the hose carefully for cuts, punctures, leaks, or any signs of wear and tear. Small holes or cuts can often be repaired easily, while larger damages might require more extensive work or even replacement.
Step 2: Gather the Necessary Tools and Materials
Once you've identified the damage, gather the tools and materials you'll need for the repair. Here's a list of common items:

- PVC glue or adhesive: This is essential for bonding the PVC parts together. Make sure to choose a high - quality glue that is suitable for PVC materials.
- PVC patches: These can be used to cover holes or cuts. You can purchase pre - cut PVC patches or cut them from a spare piece of PVC material.
- Sandpaper: Use sandpaper to roughen the surface around the damaged area. This helps the glue adhere better.
- Scissors or a utility knife: For cutting the patches to the appropriate size.
- Clamps or tape: To hold the patch in place while the glue dries.
Step 3: Prepare the Damaged Area
Before applying the glue and patch, you need to prepare the damaged area. Start by cleaning the area around the damage with a mild detergent and water. This removes any dirt, grease, or debris that could prevent the glue from bonding properly.
After cleaning, dry the area thoroughly. Then, use sandpaper to gently roughen the surface around the damage. This creates a better surface for the glue to adhere to. Be careful not to sand too aggressively, as this could damage the hose further.
Step 4: Cut the Patch
Measure the damaged area and cut a PVC patch that is slightly larger than the damage. Use scissors or a utility knife to make clean cuts. The patch should be large enough to cover the damage completely and extend a bit beyond the edges.
Step 5: Apply the Glue
Apply a thin layer of PVC glue to the roughened surface around the damaged area. Make sure to cover the entire area evenly. Then, apply a thin layer of glue to the back of the PVC patch.
Step 6: Apply the Patch
Carefully place the glued patch over the damaged area, aligning it properly. Press the patch firmly onto the hose, making sure there are no air bubbles trapped between the patch and the hose. Use clamps or tape to hold the patch in place while the glue dries. Follow the manufacturer's instructions on the glue for the recommended drying time.
Step 7: Check the Repair
Once the glue has dried, remove the clamps or tape and check the repair. Look for any signs of gaps or areas where the patch may not be fully bonded. If necessary, apply a little more glue to the edges of the patch and press it down again.
Step 8: Pressure Test
After the repair is complete, it's a good idea to perform a pressure test. This ensures that the repair is holding up and that there are no leaks. You can do this by connecting the hose to a water source or a pressure - generating device and gradually increasing the pressure. Monitor the repaired area for any signs of leakage.
Special Considerations for Different Types of Damage
Cuts and Punctures
For small cuts and punctures, the patch - and - glue method described above usually works well. However, if the cut is long or deep, you may need to reinforce the repair with additional layers of patches or use a stronger adhesive.
Leaks at the Joints
If the leak is at a joint, you may need to disassemble the joint and clean the mating surfaces. Apply a new layer of sealant or glue to the joint and reassemble it. Make sure to tighten the joint properly to prevent further leakage.
Wear and Tear
If the damage is due to general wear and tear, such as thinning of the hose wall, you may need to replace the affected section of the hose. In some cases, you can reinforce the worn area with a spiral wrap or a protective sleeve.
Our PVC Spiral Hose Products
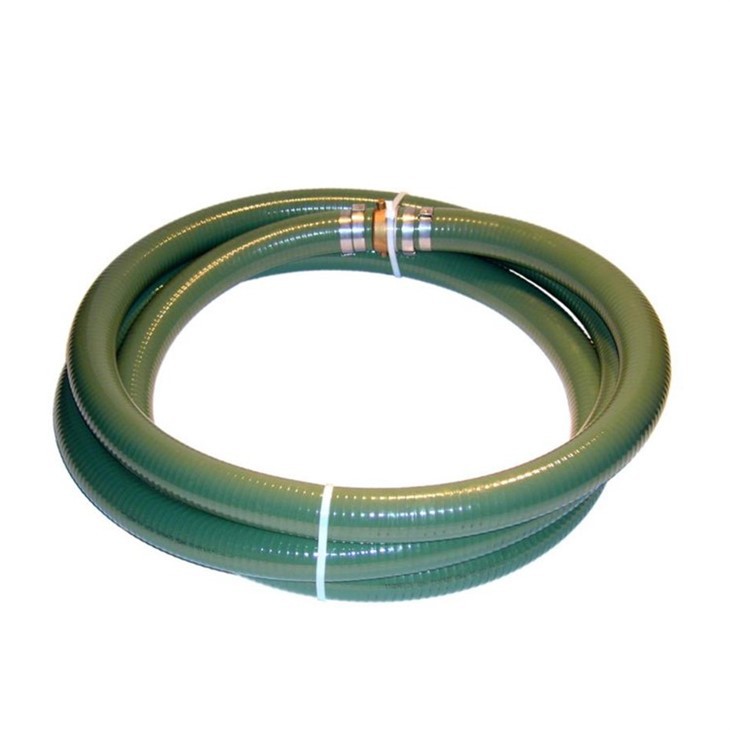
As a PVC spiral hose supplier, we offer a wide range of high - quality PVC spiral hoses for various applications. Our PVC Hose for Vacuum is designed to withstand the rigors of vacuum applications, providing reliable performance. Our 2 Inch Water Hose is perfect for water transfer, irrigation, and other water - related tasks. And our 6 Inch Suction Hose Pipe is ideal for heavy - duty suction applications.
Conclusion
Repairing a damaged PVC spiral hose is a cost - effective and practical solution. By following the steps outlined in this blog, you can extend the life of your hose and avoid the expense of replacing it. If you have any questions about our PVC spiral hoses or need further advice on hose repair, please don't hesitate to contact us for procurement and negotiation. We're here to help you find the best solutions for your needs.
References
- PVC Hose Installation and Maintenance Guide. [Publisher's name]
- Handbook of PVC Materials and Applications. [Publisher's name]